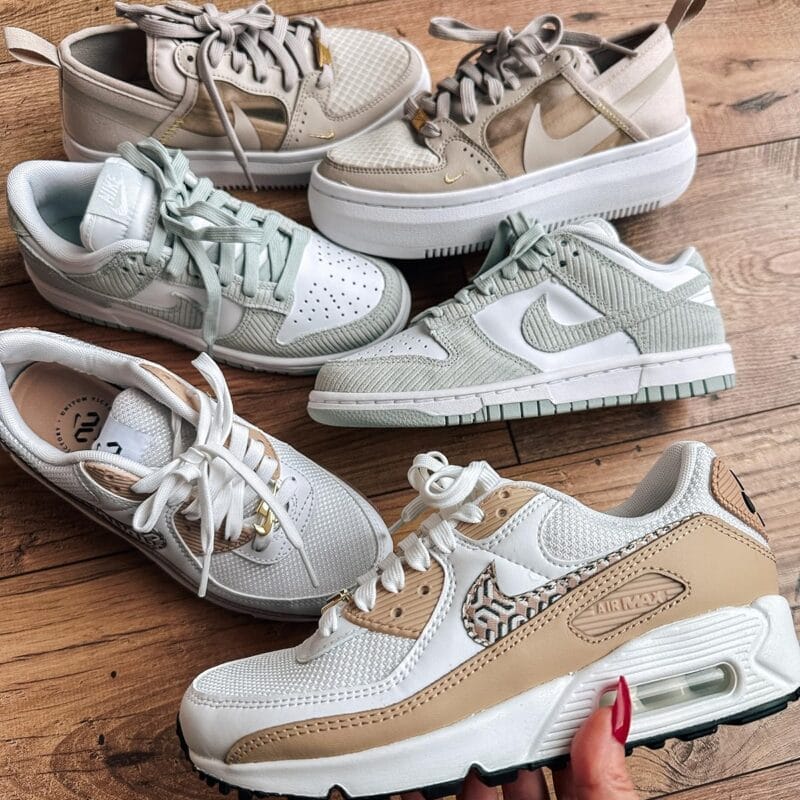

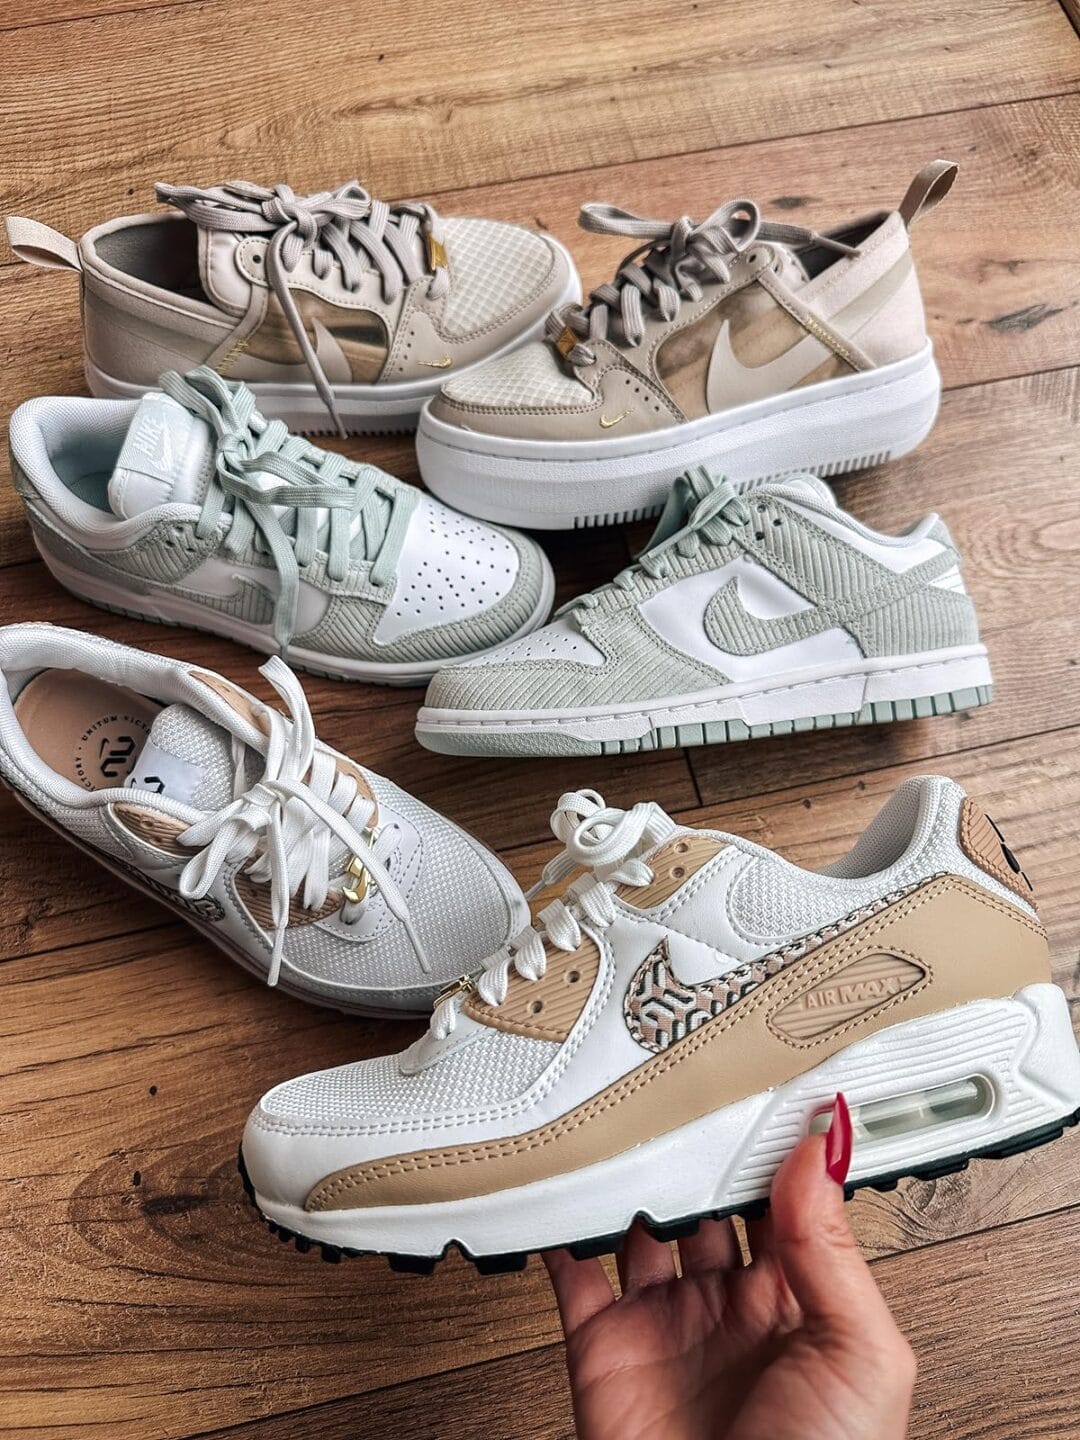
Gone are the days when sneakers were just for workouts or running errands. I’m all about sneakers for fashion and I’m a huge Nike girl, not just for me but everyone in my family! Since it’s a staple of my wardrobe I thought I’d share some of my favorite styles and what to wear with them. Not even just mine, they’re a staple in every fashion-forward mom’s wardrobe. Whether you’re chasing after little ones at the playground or conquering your…


-

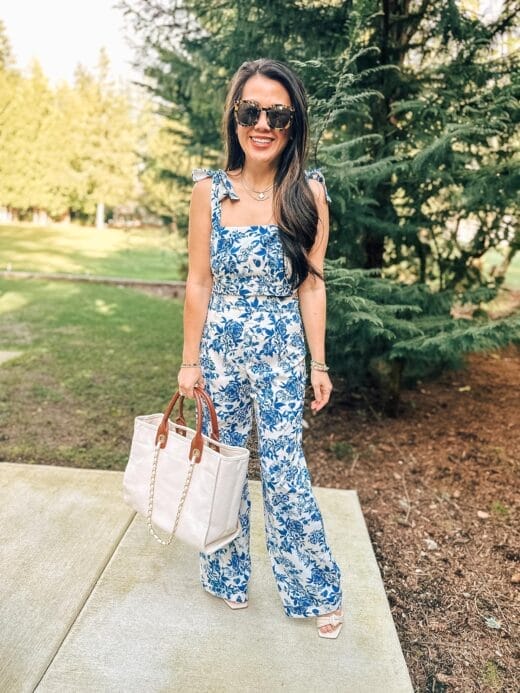
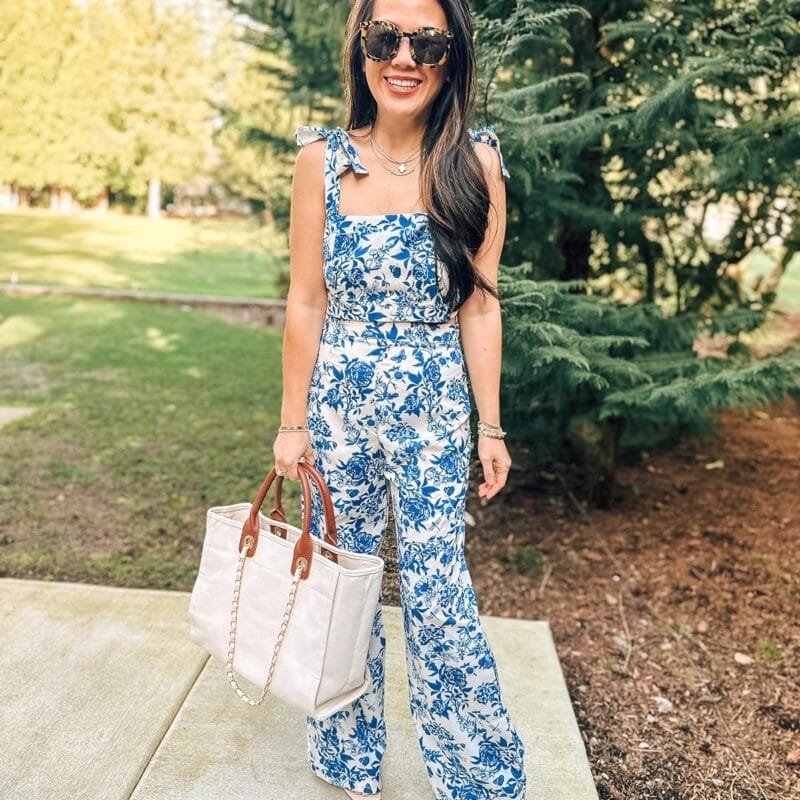
Spring is the season of rejuvenation and renewal, making it the perfect time to refresh your wardrobe and embrace new fashion trends! For women over 40, finding stylish spring outfits that are both age-appropriate and on-trend can sometimes feel like a challenge. It certainly doesn’t…
-
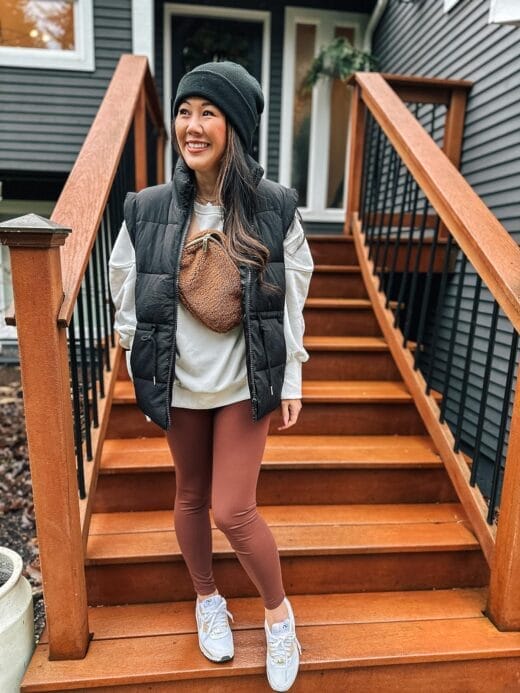
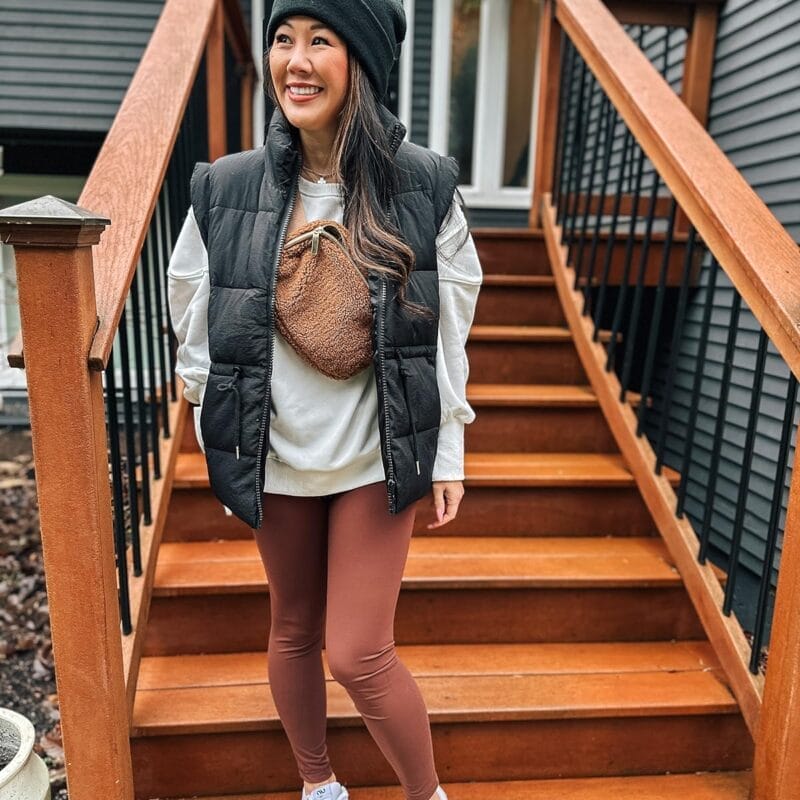
Winter is synonymous with cold weather, and nothing spells cozy and chic like a well-styled puffer jacket! Puffer coats are my go-to during the cold winter months in Seattle, so I am sharing my tips of the art of layering and some easy to recreate…
-
As the winter months settle in and temperatures drop, maintaining an active lifestyle can become a bit more challenging for all of us. However, with the right winter workout clothes, you can stay comfortable and motivated even in the coldest weather. Here’s a roundup of…
-
Winter nights call for the perfect blend of comfort and style, and what better way to embrace the season than with cozy and stylish loungewear sets? As the temperature drops, staying snug in the comfort of your own home becomes a top priority, and the…
-
Did you know that Galentine’s Day is officially celebrated on February 13th? But we should be celebrating it all the time as nothing is better than friendships with our best girl friends! This post is contains affiliate links. By using my links to shop I…
-
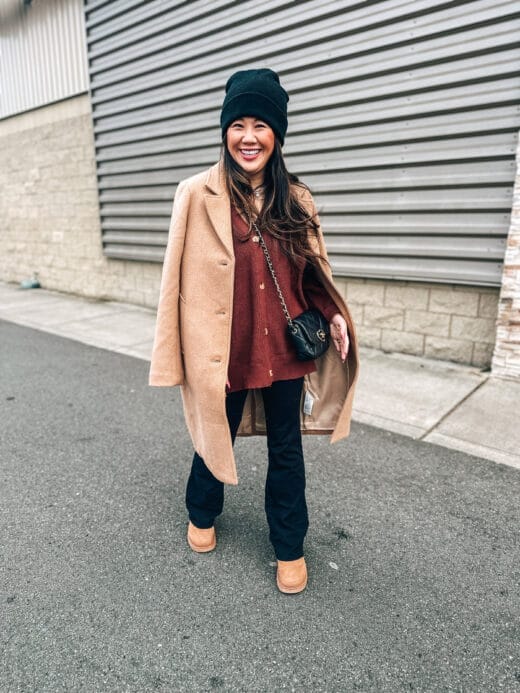
As the colder months approach, there’s nothing quite like the embrace of a warm and cozy cardigan to combat the chill of sweater weather. For us busy moms on the go, finding the perfect blend of style and comfort is crucial and something I am…