I’ve taken a bit of an unexpected blogging break… It’s been hectic here with running my business and taking care of my daughter and all the times I’ve tried to sit down and blog, I just get pulled into something else as my husband and I are still working on getting our home decorated as well. And to be honest, if I’m not working, I want to spend every moment with Layla. She is at such a fun age where she is doing new things every day and I just love being with her. But I am going to come back eventually, I have no idea when but hopefully sooner rather than later and I want to thank those of you who have stuck around and are still reading! You guys are the best!
Instagram is the easiest way for me to do any kind of social media these days so would love to have you guys follow me over there (and please do let me know your username as well! I would like to follow my readers/followers back but a lot of your accounts are private so don’t want to intrude.)
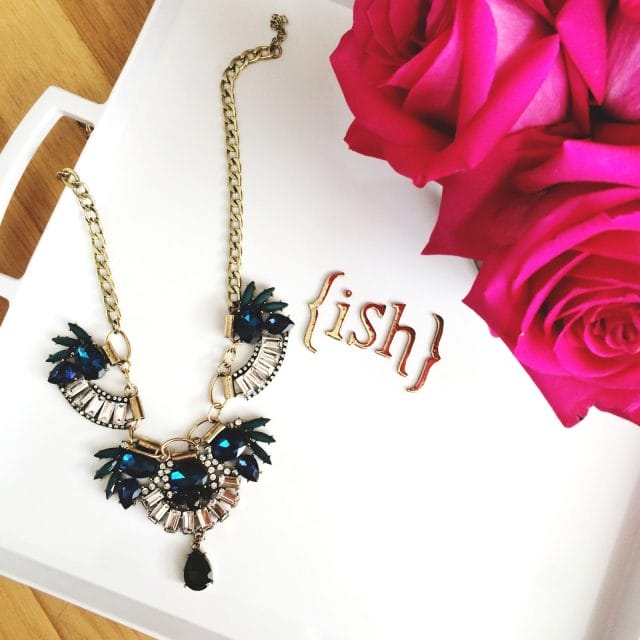
I put together two fairly easy DIY’s that I wanted to share. Even a busy mom like myself has time for these! The first is a mongram tray. I’ve been wanting one for awhile but I haven’t been able to find any that are reasonably priced and the ones that I did find were not quite my taste. I was shopping at Target and (of course as you do at Target, you see random things and think “I need that!) which is how I came across these stickers. I knew I had to do something with them so I brought them home and thought about what I could use them for and voila! A monogram tray popped in my head.
The sticker brand is called “Thickers” and they are a nice quality sticker that sticks up a little bit but not too bad that you can’t put stuff on top of it. There are a ton of fonts and colors but I’ve been on a gold kick lately so of course had to get the gold ones. The tray I got off Amazon, it is this exact tray and it also comes in a variety of sizes and colors so you could really customize your tray to exactly how you like it! It looks great on our table and so easy to add a few items to decorate with. I don’t use it to carry food so not sure how it will hold up if you put a cup on it and water gets on the stickers but for decor, it is perfect and for being about $25 total to make the project, it’s well worth it!
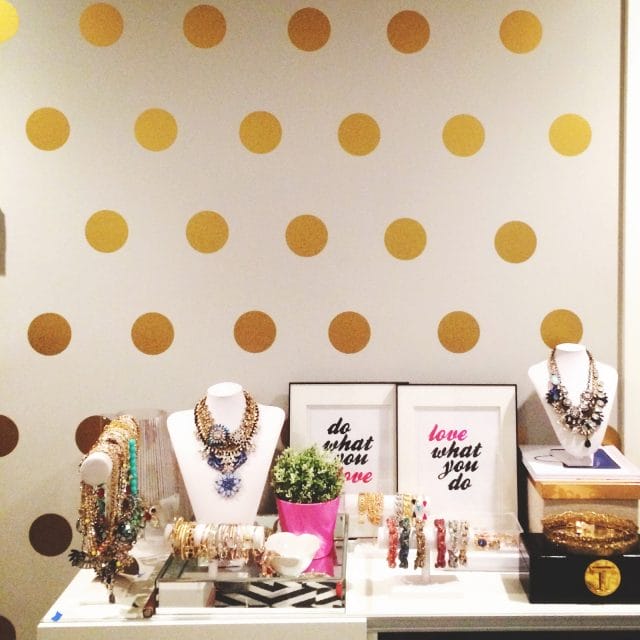
Sorry for the grainy photo here, I literally took this photo at 2am. I had bought these polka dot vinyl decals about a month ago (mine are the 4″ ones) and knew it was going to take some time to put them up so I kept on putting them off until one night after I put Layla to bed, I was determined to just tackle it all in one night! The decals themselves are very easy to put on. It’s the measuring of the wall, the distance between your dots and trying to get them spaced just right is the hard part. I absolutely love how it turned out though and my office is that much more fun with this wall!
My biggest tip is to cut all the circles individually (it comes in a whole tube like wrapping paper, just cut squares so you can see the circles on the backing). It’s a pain in the ass but you will thank me later when your line of dots are not on all crooked.
My steps:
1. Measure your wall and determine how many circles you can fit on the width (the entire width so like you’d be laying circle next to circle) split that in half so you now know how many circles you will be using and how many spaces in between. From there it is much easier to determine spacing between the circles. (You will have to adjust numbers depending if you want smaller spacing but this worked out for my larger spacing)
2. Once you have the approximate measurements, use painters tape to tape up your circles (you still have not removed it from the backing yet) and mark where you want all your circles. Stand back and make sure the lines are not crooked or spacing is off. After you are happy with that, now you know where exactly to put the circles. Start peeling off the backing and go for it!
I will say that I did have a few mistakes but the circles were very easy to peel off and put back on. They are not reusable but they are removable. So if you make a mistake it will be easy to peel off and put back on right away but if you leave it for a few days, you probably won’t be able to reuse it after that.
Tiffany is the founder and editor of I am Style-ish, a Fashion, Motherhood and Lifestyle Blog based in Seattle. Follow along my daily adventures on instagram @tiffanyish and where I share daily Amazon deals on www.amazon.com/shop/tiffanyish


Amaranta
May 6, 2014 at 3:35 amfeel free to follow on IG! @amarantac 🙂
Oishii Moments
May 6, 2014 at 4:43 amAwesome post! Follow me at @oishiimoments!
kimberly
May 6, 2014 at 5:33 amlove your blog and all your ig posts! i'm @kiiimberly 🙂
Regina
May 6, 2014 at 3:49 pmAmazing!
http://fashionyard.blogspot.com